Showing posts with label fitting. Show all posts

Thursday, September 25, 2014

Tips for giving and receiving online fitting advice

Have you ever taken the scary step of asking for fitting advice online, either on your blog or via a Pattern Review thread? I say "scary" because asking for fitting advice, usually involves posting pictures of yourself online wearing a muslin, and these usually aren't particularly flattering photos. 

From my experience, after you hit the Publish button, one of two things happens:
  • You get a ton of responses, and those responses are all over the map in their usefulness. Some responses will likely contradict each other, and you have to wade through those to try to figure out what alteration to make. I remember one time when I posted a request for fitting help, I was told by one poster that I had sloping shoulders and by another that I had square shoulders. 
  • You get...silence. Maybe you get a couple of posts with possible suggestions, if you're lucky. This certainly doesn't help your confidence level with what your next step should be after that muslin.
I love how helpful the online sewing community is...most of the time. Sometimes, though, I think that we can ask our questions in ways that will elicit more helpful responses. On a similar note, if you're taking the time to offer fitting advice, I think that there are a few things to consider to make sure that your feedback is helpful to the person requesting the help.

I've put together a list of my own suggested tips for both people asking for fitting advice and people giving fitting advice. If you've got your own suggestions, I'd love for you to post them in the comments section!

5 tips for asking for fitting advice


These are my suggestions on what to include in your post requesting fitting help. In a nutshell, including more information for fit helpers and focusing your request will increase the likelihood that you solve a particular fitting issue.

  • The fabric that you use for your muslins should be a solid, light color.

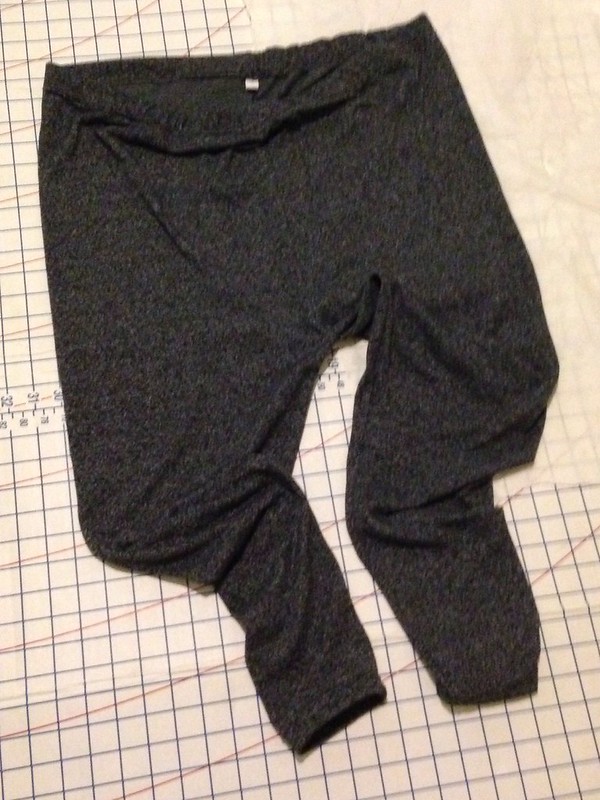
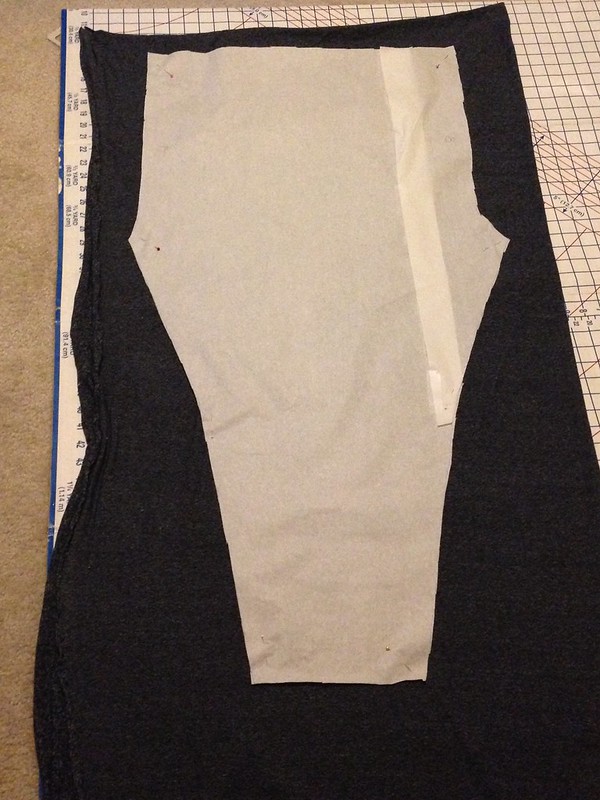
    If you're concerned enough about fit to post on the internet about it, I'll assume that you'll also be making a muslin or two for your project. Ideally, your muslin fabric should be a light color and should not be a print so that helpers can more easily see whatever wrinkles and drag lines pop up. Understand that if you wind up making significant changes to your pattern based on your first muslin, you might need to make a second muslin and another round of adjustments to fine-tune your fit before cutting into your "good" fabric.

  • Include pictures in your post.
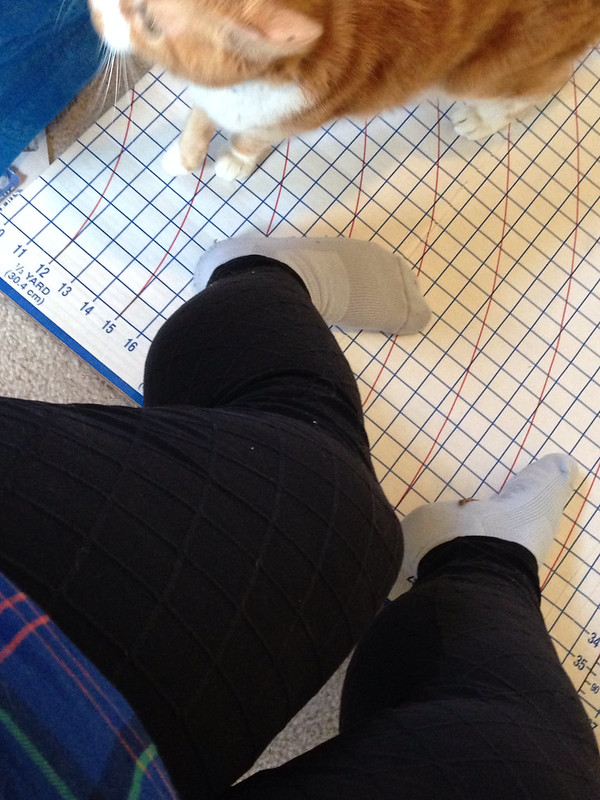
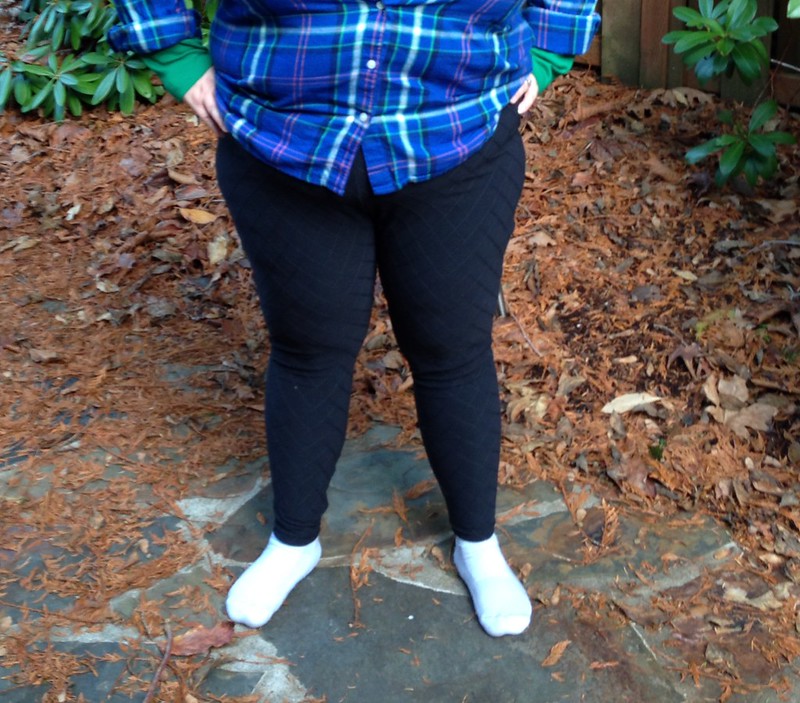
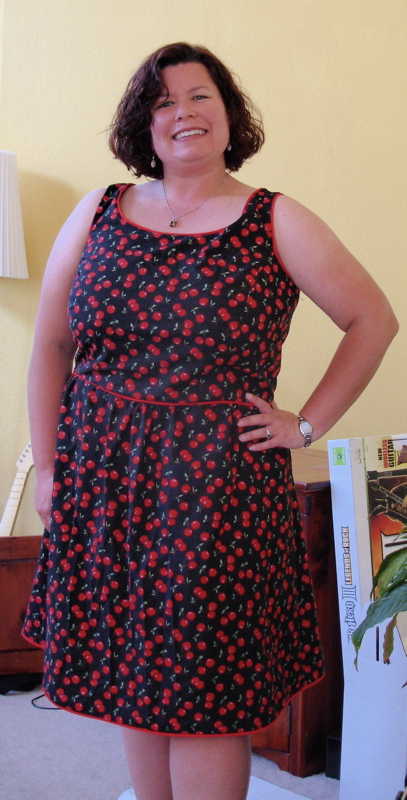
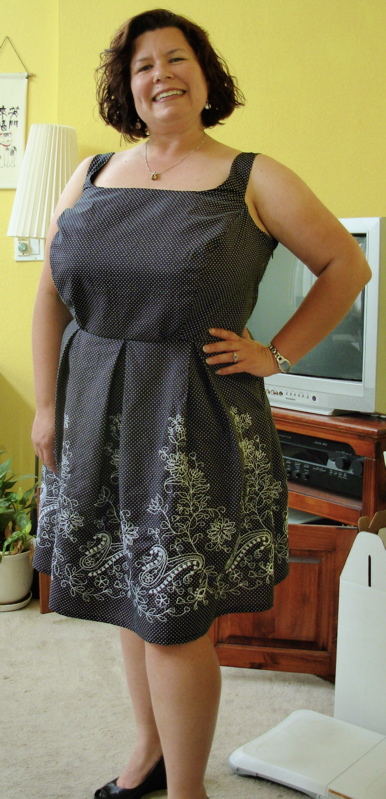
    Diagnosing fitting problems is extremely difficult without a visual reference. The photos don't need to be of great quality, but they'll help your fitting helpers see what you're seeing. If you don't have anyone to take pictures for you, learn to use the self-timer on your camera or download a self-timer app for the camera on your phone. Take your photos with your arms at your side, and include at least one photo from the front, back, and side angles.

    So...many...wrinkles to read!
  • Be specific, if possible.

    Being specific will both help focus the people who help you and where to look, but should also help focus their advice. For example, posting "I know that I need a bigger FBA, but what's that weird drag line coming down from my shoulder" should hopefully elicit suggestions related to your shoulders and not a half dozen responses telling you that your garment is too tight across your bust or that you need a bigger FBA. Granted, sometimes the response will then be "When you increase your FBA, that drag line will go away."
  • In your post, include as many of your measurements as your are comfortable (if relevant).

    If you're asking for help fitting a top or bodice, include your high bust, full bust, and waist measurements. If you're asking for fitting help with pants or a skirt, include your waist, high hip and low hip measurements. These measurements can helpers zero in on what might be causing your fitting issue. Make sure to include your height and anything notable about your proportions (e.g. short-waisted). Fitting issues aren't just caused by your horizontal body space; they can be caused by your vertical body space, as well.
  •  Be open-minded but understand that you might need to take some advice with a grain of salt.
    Read through the responses to your request and take a few moments to process them before slicing and dicing your pattern. Understand that just because you've never needed an FBA or an SBA before, doesn't mean that you don't need one for this particular pattern, especially if it's a new-to-you pattern company.

    On the other hand, not everyone who responds to your post is likely to be a fitting expert for your particular body type. Some people zero in on a large bust and automatically think that you'll need an FBA or a larger FBA, when that might not be the case. (Hint: Having a very large bust can cause fitting issues outside of the arena of FBAs.)
Once you've made progress with your fitting, post an update with pictures! This is simply courtesy to those who helped you earlier and are curious as to how your project is going.  Additionally, "before" and "after" photos can be a helpful reference to someone who comes across your post at a later date with the same fitting problem.

5 tips on giving fitting advice


If you're somewhat experienced with fitting (or at least with a few particular fitting issues), 
  • Keep it short and specific; concentrate on the question(s) asked.

    We all know that a person's body can deviate from a pattern draft in multiple ways. However, as a person asking for fitting help, it can be overwhelming to read a huge paragraph of text of all of the changes that someone is recommending that you make to a pattern. As someone who has been there, your eyes just sort of glaze over and you think, "Why am I even bothering with this pattern if this is what I have to do to make it work for me?" If the requester asked for help with a specific issue, help her with that issue and avoid the urge to comment on every single other wrinkle you see unless you suspect that they're related to the issue she's asking about.

    Besides, if you're experienced enough to post fitting help, you probably also know that a sewist should start making adjustments at the point that a garment hangs from, and then work her way down from there. Sometimes an adjustment to the shoulders can fix other issues further down the garment.

  • Take the poster's skill level and confidence level into account with your answer.

    A beginning seamstress might be ready to tackle a traditional slash-and-spread FBA, but unless she's really confident, she might not be ready to tackle that FBA and rotate darts. Consider mentioning a shortcut method along with the "correct" method for an alteration in this case.

    Additionally, if you suggest an alteration to a novice seamstress, give a line or two of description of what that alteration is and what it does. Even better, include a link to a tutorial, if you know of a good one. Not everyone owns a copy of Fit for Real People or has the text of that book memorized. Don't just tell her to extend her back crotch length, explain that she needs more length going over her bum, and here's how you add that length.
  • Keep body-shaming out of your advice. Don't tell a poster that a style is a bad choice; they chose that style for a reason.

    Trust me, every female sewist with a very large bust has been told to stick to princess seams at some point. While princess seams might be easier to fit well than a darted bodice, think about, wouldn't you like a little variety other than princess seamed garments in your closet?

    Where I do think it would be a service to say something, though, would be if you know of a pattern with similar details that might work better for the requester. For example, if a plus sized woman is struggling with grading up a Burda pattern that stops at a size 42, it could definitely potentially save her a headache to suggest a similar pattern from a company with a wider size range.

    If you do offer style advice, keep it general. For example, "Princess seams are easier to fit on a large bust" sounds a heck of a lot nicer than "You should stay away from darted bodices," doesn't it?
  • If you're not the first person to post a response, say whether you agree or disagree with the preceding poster(s) and explain why.

    When the person requesting help reads the responses that she receives, she's going to need to wade through the advice and figure out which adjustments to make next, and that can be confusing. Let's say that an earlier helper has already told her that she has sloping shoulders, but from reading her muslin wrinkles, you think that she has square shoulders. In your response, explain why her wrinkles are pointing to square shoulders, in your opinion. On top of that, if three other posters also told her that she has square shoulders, by agreeing with them and saying why, you're adding weight to that opinion.
  • Don't be shy about bringing up known issues with a particular pattern or pattern line.

    Not everyone reads every review or blog post about every pattern. However, for those of us who do read a lot of pattern reviews, we might be aware that certain patterns are known for certain issues. For example, a lot of women have had issues with the back neck gaping on the Colette Peony or that many women have trouble with the rear view of their pants fit from Big 4 patterns. If you're armed with this knowledge, you can decide how much work you want to continue putting into adjustments and muslins, or if you want to move on to try to find a similar pattern from another company.

    The infamous Lekala wadder
What do you all think? Have you ever asked for or given fitting advice online? How did the experience work for you?

Monday, November 25, 2013

Completed project: Espresso leggings

Let me start this post off with a rant...  In the sewing blogosphere, I've seen a lot of sewists refer to a finished garment as a "make". I'm guessing that this is supposed to be whimsical or cutesy or something? This term is like a nails on a chalkboard to me--I cringe every time that I read it.  (No offense to anyone who loves to use this term, of course.) The inner grammar policewoman in me can't help but scream, "make" is a verb, not a noun. You "make" a skirt; a skirt is not a "make". Okay, I'll step down off of my soapbox now and tell you a bit about my latest "make", er, finished project.

Test pair of leggings - gray mystery fabric
I finished my first "good" pair of Espresso leggings from Cake patterns. In a previous post, I described how to use the template included in the pattern to draft your pattern piece. After drafting, I was able to cut and sew up my first "test" pair in about 40-45 minutes. For the test pair, I used a piece of heathered gray jersey that had been sitting in my stash for years. This fabric was leftover from another project and probably didn't have the ideal amount of stretch for this pattern (not much lycra and little to no vertical stretch).

In retrospect, this wasn't the best fabric choice for a test pair of leggings. I chose it because I wanted a pair of leggings in a dark charcoal gray color, and the fabric itself is very soft. I think that this pattern (and leggings in general) work better when you have a generous amount of lycra in the fabric mix.

I wore my test pair for a day and decided that the front rise was too high (1"), back rise was too short (1.5"), and that I needed more room in the calves, so I curved that outward by 1/2" on each side. I applied these changes to my pattern piece. Here is the original piece vs. the altered piece:

original pattern piece
altered pattern piece
For the second pair, I used a really awesome textured "active wear knit" that I purchased from Rose City Textiles when we visited Portland in October:
kitty photo bomb!

The fit is better with the second pair, but since the second fabric has more vertical stretch, I should have removed some length in some places (the front rise is still too long with these). I love this fabric, though, and learned that I probably want to stick to activewear knits (or at least knits with a lot of lycra) for future Espresso versions. (I do have a lovely piece of chocolate brown knit from the same visit to Rose City Textiles that will be used for another pair of leggings.)

While I will always be wearing these under a dress or long tunic, I'm posting pictures of the fit for the curious. Keep in mind that I'm only 5'2" and usually wear a size 18 in pants in RTW:

Espresso leggings - fit in front
Espresso leggings - fit in back
Overall, I'm very happy with this pattern--it was well worth the $8 or so that I paid when pre-ordering the pattern. These only take about 40 minutes to sew up, so you could conceivably make a pair of custom leggings to wear under every dress or skirt that you sew without adding much total time to your project.

Thursday, July 17, 2008

Taking a step back


I'm sick of fitting. I've said it.

It took me 3.5 muslins (including one wearable muslin...that wasn't supposed to be a muslin because I loved the fabric) to get a passable version of the Emily blouse. I'm still not thrilled with this one. In the photo, it looks like it's pulling across the bust, but I think it's the way that I'm standing because I don't see the pulling when I'm standing in front of a mirror. I guess it's okay, but I'm pretty "meh" about this, especially after all of the work that went into this. Obviously, this is a lot better looking than that first muslin that I posted a picture of, but I can't say that I'm particularly excited about it.

And with that thinking in mind, I decided about a month ago that I'd stick to sewing princess seamed tops/dresses for a while. I know that I have a higher chance of success with princess seams than darts (especially with having to cut chunks out of bust darts and rotate them elsewhere and all of that other fun stuff).

So...as part of my contribution to stash reduction, I recently sewed up New Look 6457. This was the opposite of frustrating. For pretty much the first time ever, I was able to simply follow the fitting instructions in FFRP and lower the bust fullness, do an FBA, and I wound up with a really cute sundress.

I LOVE how this turned out. It fits me like a glove, and I don't think the picture does justice to how waist-defining and flattering this dress is. As soon as I tried on the finished version, I decided that I wanted to make up several more of these. It's the perfect dress to throw on after work when the condo is still friggin' warm or to wear around town on the weekend. It's ridiculously comfortable, and I don't feel like a shlump in it.

Still riding the high of NL 6457, I decided to tackle the very similar (from the picture) New Look 6805. It's got a similar princess seamed bodice and a pleated skirt...and without all of the piping, it should go even faster, and therefore be a recipe for success, right?

Wrong. Of course, this couldn't actually be easy for me. Given the similarities of the bodices, I used NL 6547 as a sloper, thinking that I could just transfer the changes. Well, I transfered the changes, but apparently not the fit. And because I'm a masochist and enjoy suffering, I didn't make a muslin of this one because I was so sure that it would fit. Ugh. Bad idea.

Really bad idea.

At least the skirt in NL 6805 turned out cute, but the bodice is wonky in a ridiculous number of ways. I futzed and futzed and couldn't get the straps to lay at the same angle (I suppose this is because these are true "straps", whereas NL 6457 was more of a tank style.) The back on this thing gaped initially, and I had to add a center back seam to fix that. The princess seams themselves needed to be taken in on this (I guess it runs large in the bust and my transferred FBA from NL 6457 was overkill), and I'm still not happy with how those look.

So, in the past two months, I've had one raging success, one meh (after way too much work and fitting work), and one I-can-wear-it-around-the-house result. I really feel like I need to take a break from fitting for a while. My confidence is shot. I recently got engaged and had hopes of sewing my own dress, but I'm really not feeling that at the moment. Granted, I have just over a year until our wedding (during which time I'm going to try to lose weight, also, but that's another story), but I really don't think I could pull off the dress that I want at this point.

I've decided that I'm going to take a step back and just concentrate on things that I know that I'll enjoy SEWING for a while...things that don't require much fitting work. Next up in the queue is a pair of Simplicity drawstring cargo shorts for my fiance. After that, I'll work on a few more cotton versions of NL 6457.

If I'm feeling up to it, after that, I've got a few versions of Simplicity 2930 that I'd like to make. I'm thinking that this will be a good one for me because it has both princess seams and separate pattern pieces for different cup sizes. I should be able to get away with using a 16-D-cup, doing a narrow shoulder alteration, and a normal-sized FBA (instead of a huge one) and should be able to get a couple of nice, flattering tops out of this. Famous last words, right?

Friday, June 13, 2008

Wonky Darts

Bust darts have given me fits in the tops and jackets that I've sewn so far. At first, I thought that it was me and some strange dart ineptitude that I have, but then I noticed that my waist/butt darts never seem to have the same problem. My bust darts usually seem to be overly pointy, and I have a heck of a time getting them to lay flat.

Fairly recently, I realized that it might not all be my fault. I usually have to do a pretty large FBA to accommodate my bust, and this usually results in a huge bust dart. I've started playing around a little bit with rotating the bust dart elsewhere. The Emily blouse has been my first attempt at splitting the bust dart into a second dart (in this case, I used an armhole dart, which someone had recommended to me)...but *sigh* this clearly didn't fix the problem of my wonky darts:


Here's a closer look at my oh-so-prominent dart:


And a front view (ignore the fact that there's too much ease in the sleeve cap and that the blouse has no waist shaping--I can fix those things):


This is a muslin (thank you $1/yard swap meet fabric) that I went ahead and finished to practice collars, shaped hems, etc. But, I'd like to make this again and actually try to make this work. Sadly, even as wonky as my bust darts are, they don't look as bad as they usually do, so I think that I may have been onto something with my gigantidart theory...just that I didn't decrease the dart size enough with this one. My thoughts on what I'd like to change for my next version:
  • I hate the armhole dart. I'm rotating the bust dart excess to a waist dart next time.
  • I think the bust dart is still too big--I'll rotate out more excess next time.
  • I think that I lowered the bust dart too much. I usually lower my darts 1/2-1", but when I did the tissue fitting this time, it looked like I'd need to lower them by 1 1/2"...which I think was too much.
Any fitting gurus out there have any other thoughts?