Let me start this post off with a rant... In the sewing blogosphere, I've seen a lot of sewists refer to a finished garment as a "make". I'm guessing that this is supposed to be whimsical or cutesy or something? This term is like a nails on a chalkboard to me--I cringe every time that I read it. (No offense to anyone who loves to use this term, of course.) The inner grammar policewoman in me can't help but scream, "make" is a verb, not a noun. You "make" a skirt; a skirt is not a "make". Okay, I'll step down off of my soapbox now and tell you a bit about my latest "make", er, finished project.
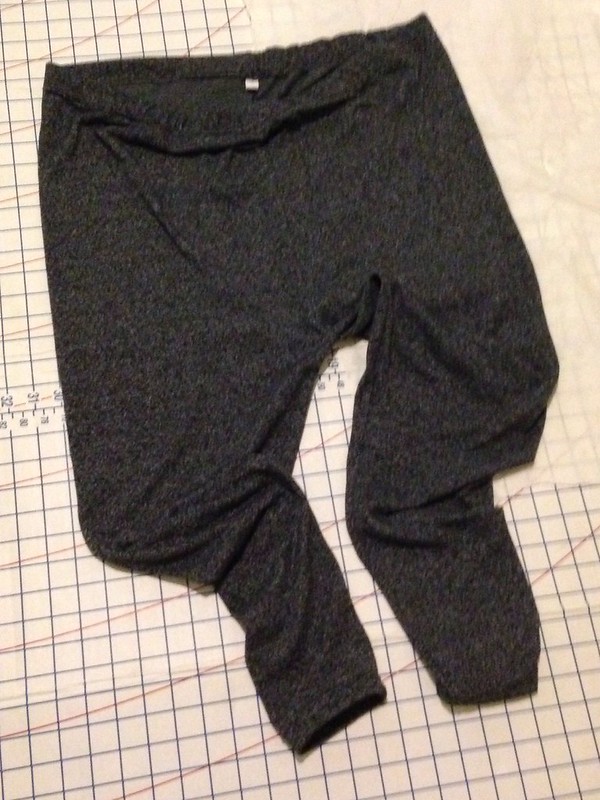 |
| Test pair of leggings - gray mystery fabric |
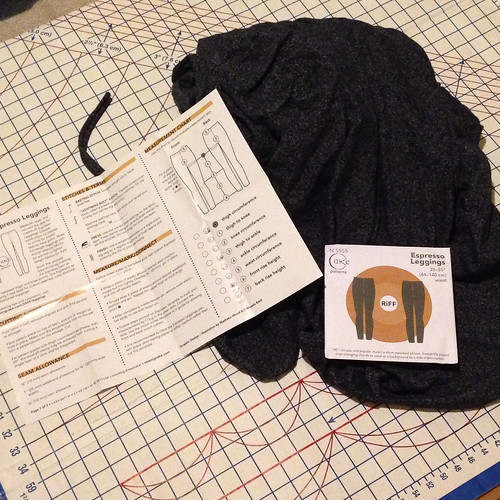
I finished my first "good" pair of
Espresso leggings from Cake patterns. In a previous post,
I described how to use the template included in the pattern to draft your pattern piece. After drafting, I was able to cut and sew up my first "test" pair in about 40-45 minutes. For the test pair, I used a piece of heathered gray jersey that had been sitting in my stash for years. This fabric was leftover from another project and probably didn't have the ideal amount of stretch for this pattern (not much lycra and little to no vertical stretch).
In retrospect, this wasn't the best fabric choice for a test pair of leggings. I chose it because I wanted a pair of leggings in a dark charcoal gray color, and the fabric itself is very soft. I think that this pattern (and leggings in general) work better when you have a generous amount of lycra in the fabric mix.
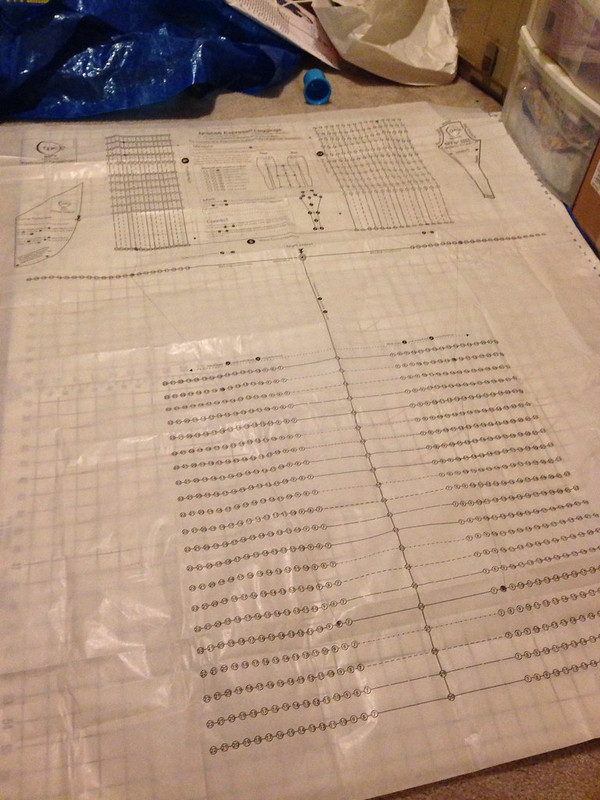
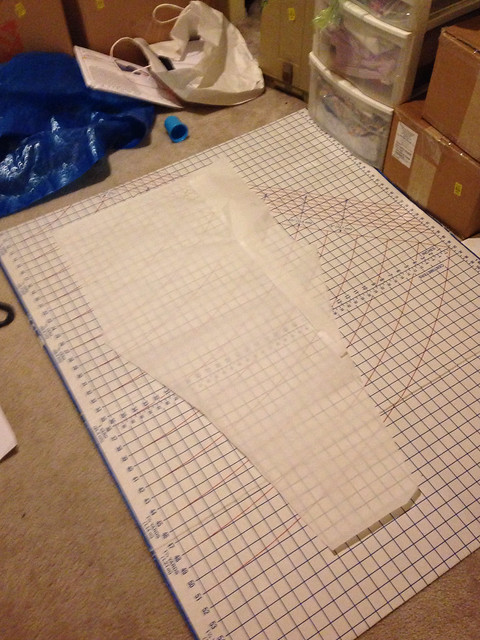
I wore my test pair for a day and decided that the front rise was too high (1"), back rise was too short (1.5"), and that I needed more room in the calves, so I curved that outward by 1/2" on each side. I applied these changes to my pattern piece. Here is the original piece vs. the altered piece:
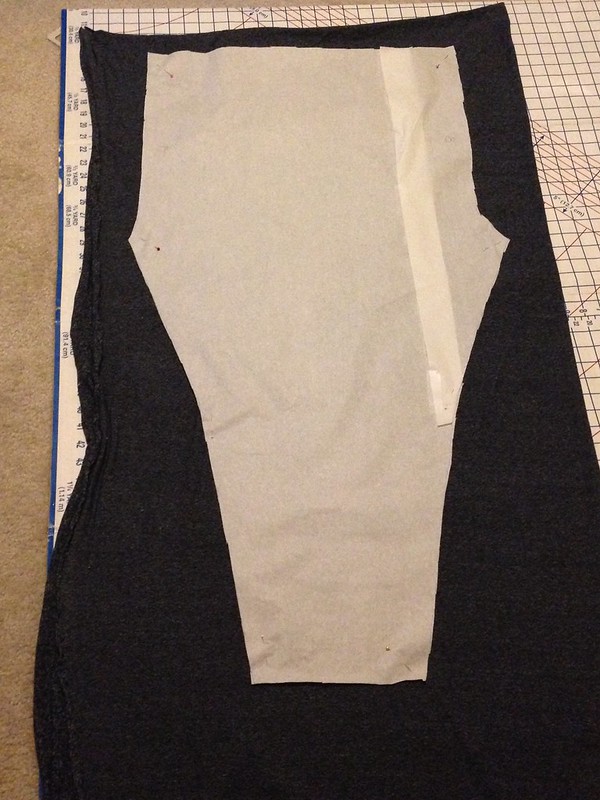 |
| original pattern piece |
 |
| altered pattern piece |
|
For the second pair, I used a really awesome textured "active wear knit" that I purchased from Rose City Textiles when we visited Portland in October:
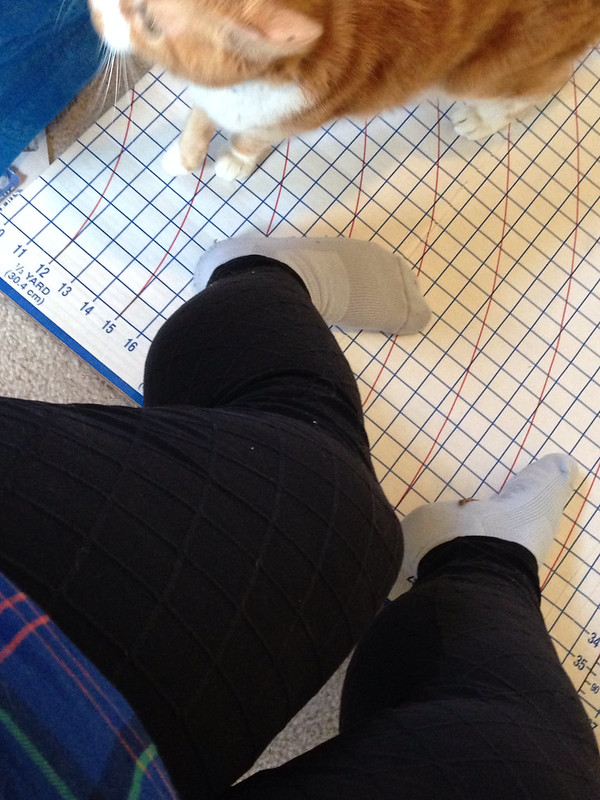 |
| kitty photo bomb! |
The fit is better with the second pair, but since the second fabric has more vertical stretch, I should have removed some length in some places (the front rise is still too long with these). I love this fabric, though, and learned that I probably want to stick to activewear knits (or at least knits with a lot of lycra) for future Espresso versions. (I do have a lovely piece of chocolate brown knit from the same visit to Rose City Textiles that will be used for another pair of leggings.)
While I will always be wearing these under a dress or long tunic, I'm posting pictures of the fit for the curious. Keep in mind that I'm only 5'2" and usually wear a size 18 in pants in RTW:
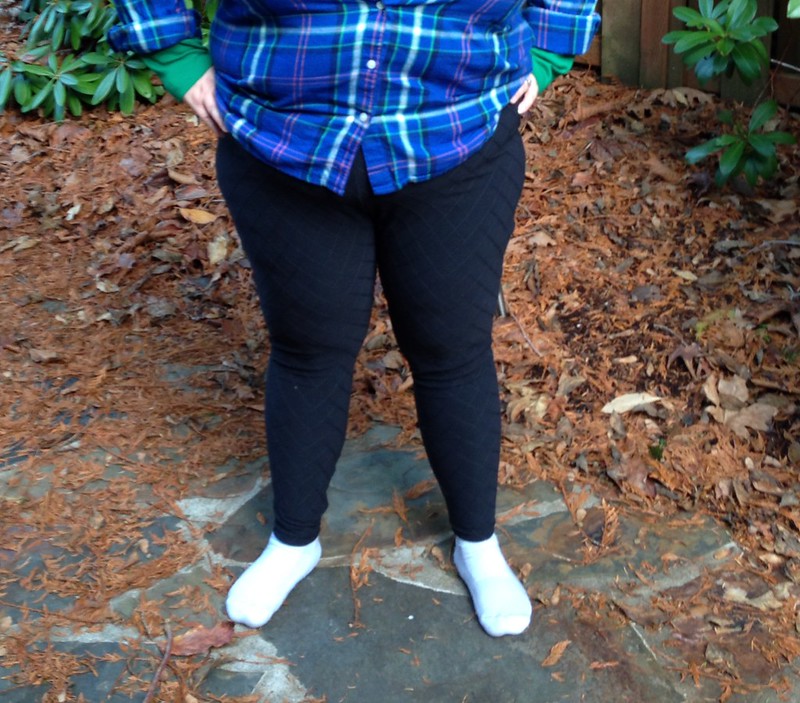 |
| Espresso leggings - fit in front |
 |
| Espresso leggings - fit in back |
Overall, I'm very happy with this pattern--it was well worth the $8 or so that I paid when pre-ordering the pattern. These only take about 40 minutes to sew up, so you could conceivably make a pair of custom leggings to wear under every dress or skirt that you sew without adding much total time to your project.